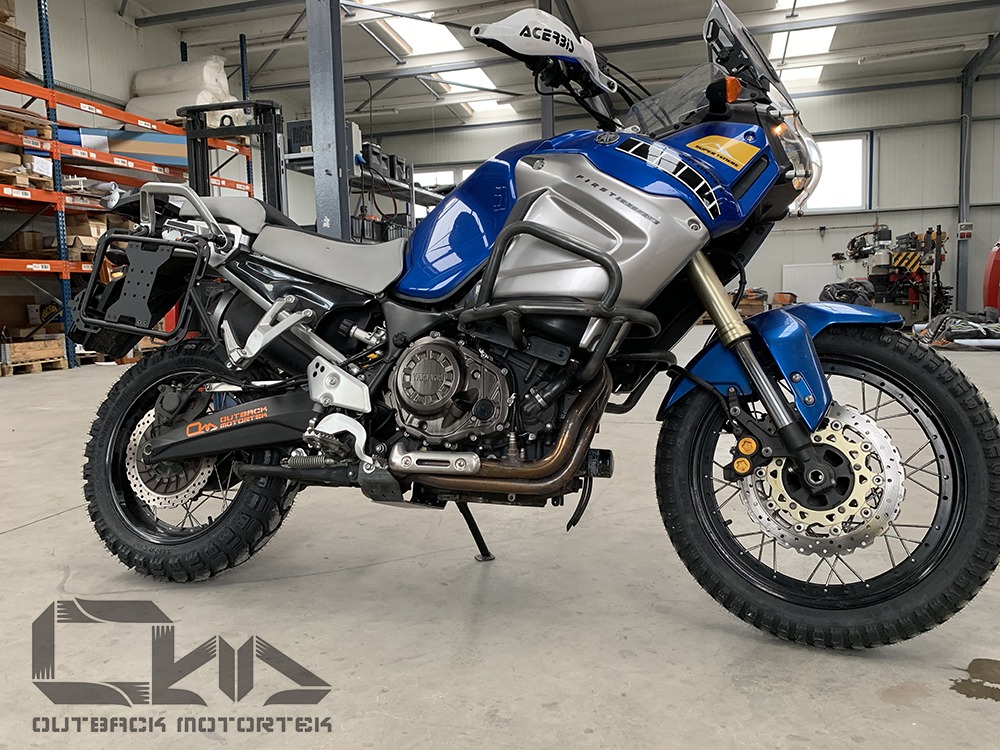
I thought I’d give this blog post title a little twist. Yes, pun is intended but no more attempts at jokes.
Technically we’re a few years late to the Yamaha Super Tenere 1200 market. Instead of just banging out crash bars for every bike we can get our hands on, we always choose a slower approach to give ourselves time to consider different scenarios our crash bars could potentially be exposed to, should the bike be dropped or crashed.
As with every motorcycle we’ve made protection for, the Super T 1200 came with its challenges. First and foremost: finding the right mounting points. Fortunately, it was fairly easy the big Yamaha already has two factory mounting points per side prepared right on the side of the frame. For us though, two mounting points was not enough. This is one of the heaviest ADV bikes out there and when it hits the ground, it causes a mini-earthquake. So what to do? We had to find more fixing points to distribute impact created by such a heavy bike. We discovered two more options each side but these tabs are part of the engine block. Some of the readers will now close this page…
Please, don’t!
Before you jump to any conclusion, read and consider to this. There are many adventure motorcycles that offer engine mounted crash and engine protection straight out of the factory: Triumph Tiger 800, BMW F650/700/800GS, KTM 1090/1190/1290 Adventure and the list goes on.
The thing is though, as long as the crash bars’ design is proper, your bike’s engine case will not suffer. To achieve this, crash bars need to be able to flex during impact to absorb or as a last resort the mounting tabs must. This is exactly what we wanted to feature on our XT1200Z crash bars: creating a strong base relying on the frame and additional support to spread the load to the frame mounted tabs via our steel tabs.
I’ve prepared dozens of photos to demonstrate the process of developing our Super Tenere crash bars. Keep scrolling down.
This is where we started the physical part of the development by creating a base to branch out from. After this, we’d add the mounting tabs and tubes to connect to the base tubing. This base tubing will also act as the main impact zone having a protruding bend (elbow-like) featured in it.
5mm thick steel strips were used to create the mounting tabs before shaping them to fit, including carving out chunks or bending them to the right shape.
Large steel tabs were bolted on the frame each side to connect the two factory welded tabs on the frame. We used a short 27mm diameter tube to connect the base tube with this long steel tab.
The front end was mounted to the engine case. This part is also occupied by a very thick (about 9-10mm) engine mounting plate above the exhaust manifold.
The front end of the base tube received another support arm, also acting as a channel to distribute impact ending at our steel tab which was designed to absorb the rest of the load.
One photo from the side shows how we had prepared the base for the last but very important piece: the upper tubing which is to provide coverage for the fragile plastic covers and the exposed radiator and its components.
Now that it had all been pieced together, we wanted see, if our brainstorming about all the above would pay off, thus we laid the bike on its side.
Don’t you worry for one second though! It’s not the end of the development, nor do we release our crash bars after such pathetic “test”. There’s more to follow soon…
Until then, enjoy looking at these high resolution shots in better lighting conditions and leave us a comment about your thoughts regarding this Yamaha XT1200 Super Tenere.
